Step by step guide for installing Clym on your Wordpress website
Here’s a quick 2 minute video showing you how to install Clym’s compliance widget onto your website. Below the video, you will also find step-by-step instructions in written form. If you feel this is a task better suited for your webmaster or developer, please send them this link, along with the email instructions you received from Clym.
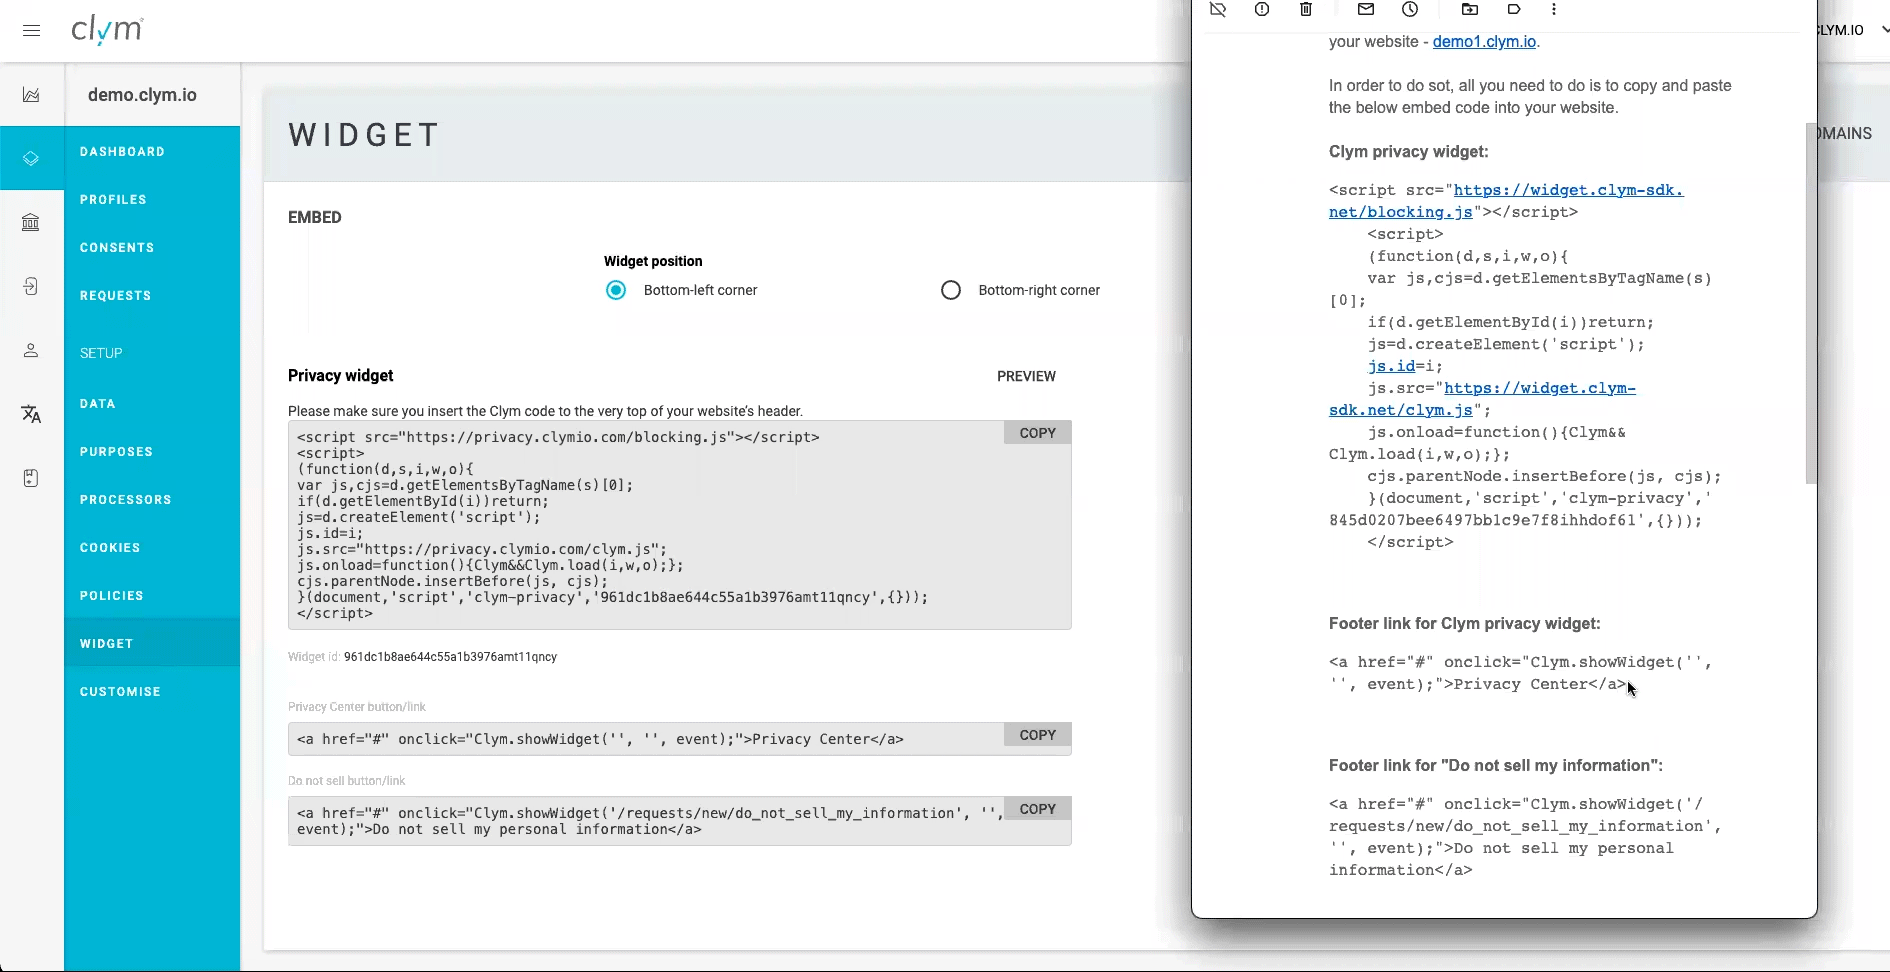
Before you get started, make sure you have at hand the Clym widget code and the links for "Privacy Center" and "Do not sell or share my personal information". You should have received them via email or you can copy them from your Clym admin account.
Installing Clym on a Wordpress website is a 3-step process:
- Install and activate WPCode plugin
- Copy / paste the Clym widget code
- Copy / paste the links for "Privacy Center" and "Do not sell or share my personal information"
1. Install and activate WPCode plugin
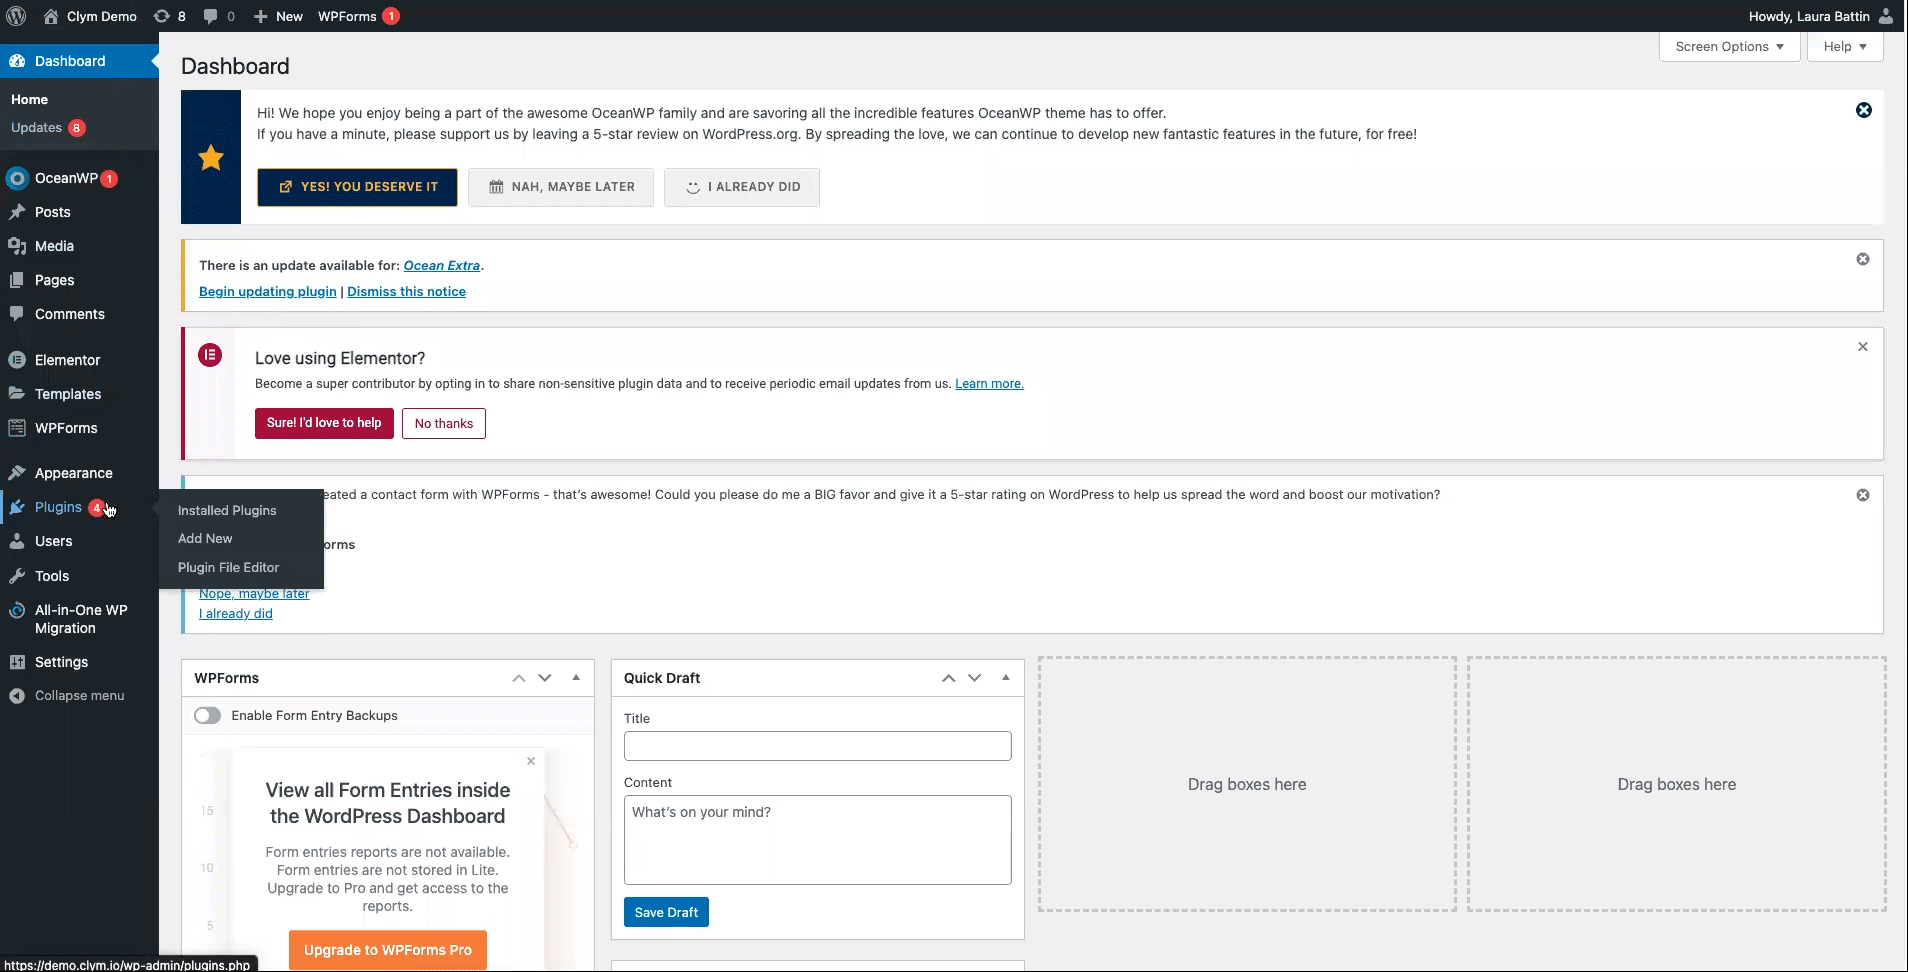
Please login to your Wordpress dashboard. Find Plugins from the left-hand side navigation bar and select Add New.
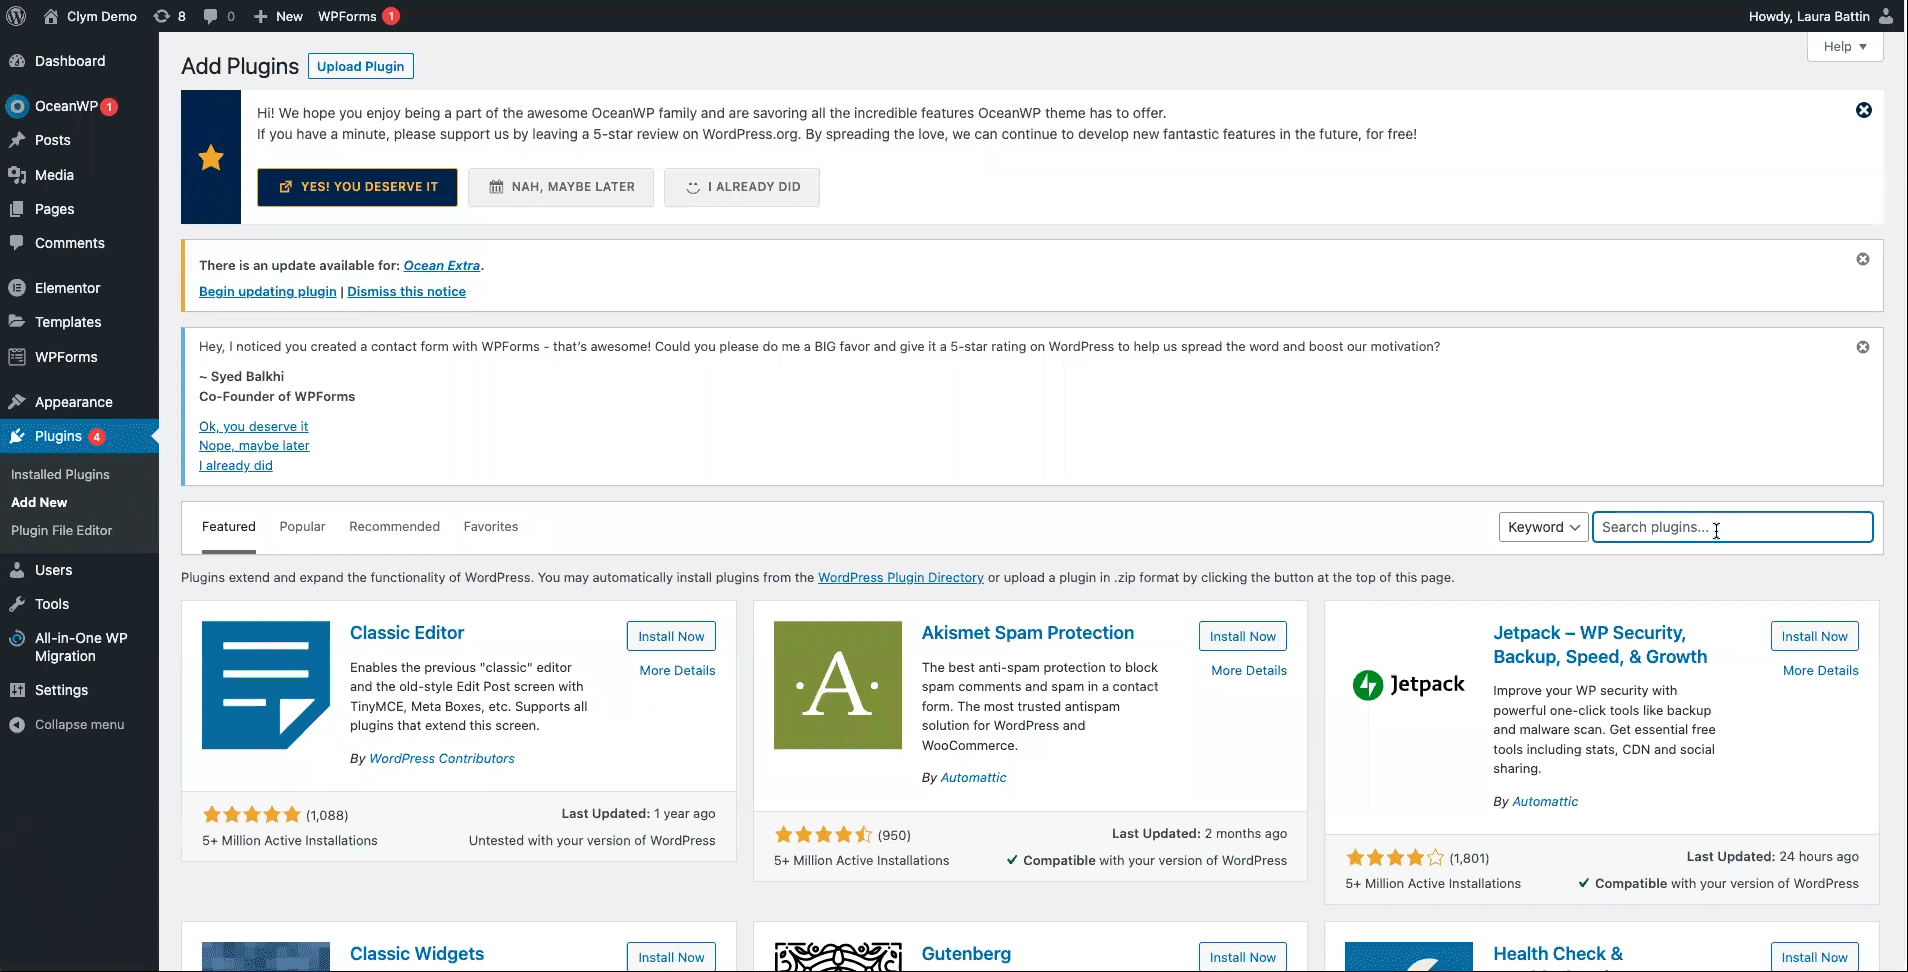
Search for a plugin that will allow you to add custom header and footer code snippets, such as WPCode – Insert Headers and Footers + Custom Code Snippets – WordPress Code Manager. When searching for WPCode, this is the first plugin that will appear. Click on Install Now and then click Activate to activate the plugin.
2. Copy / paste the Clym widget code
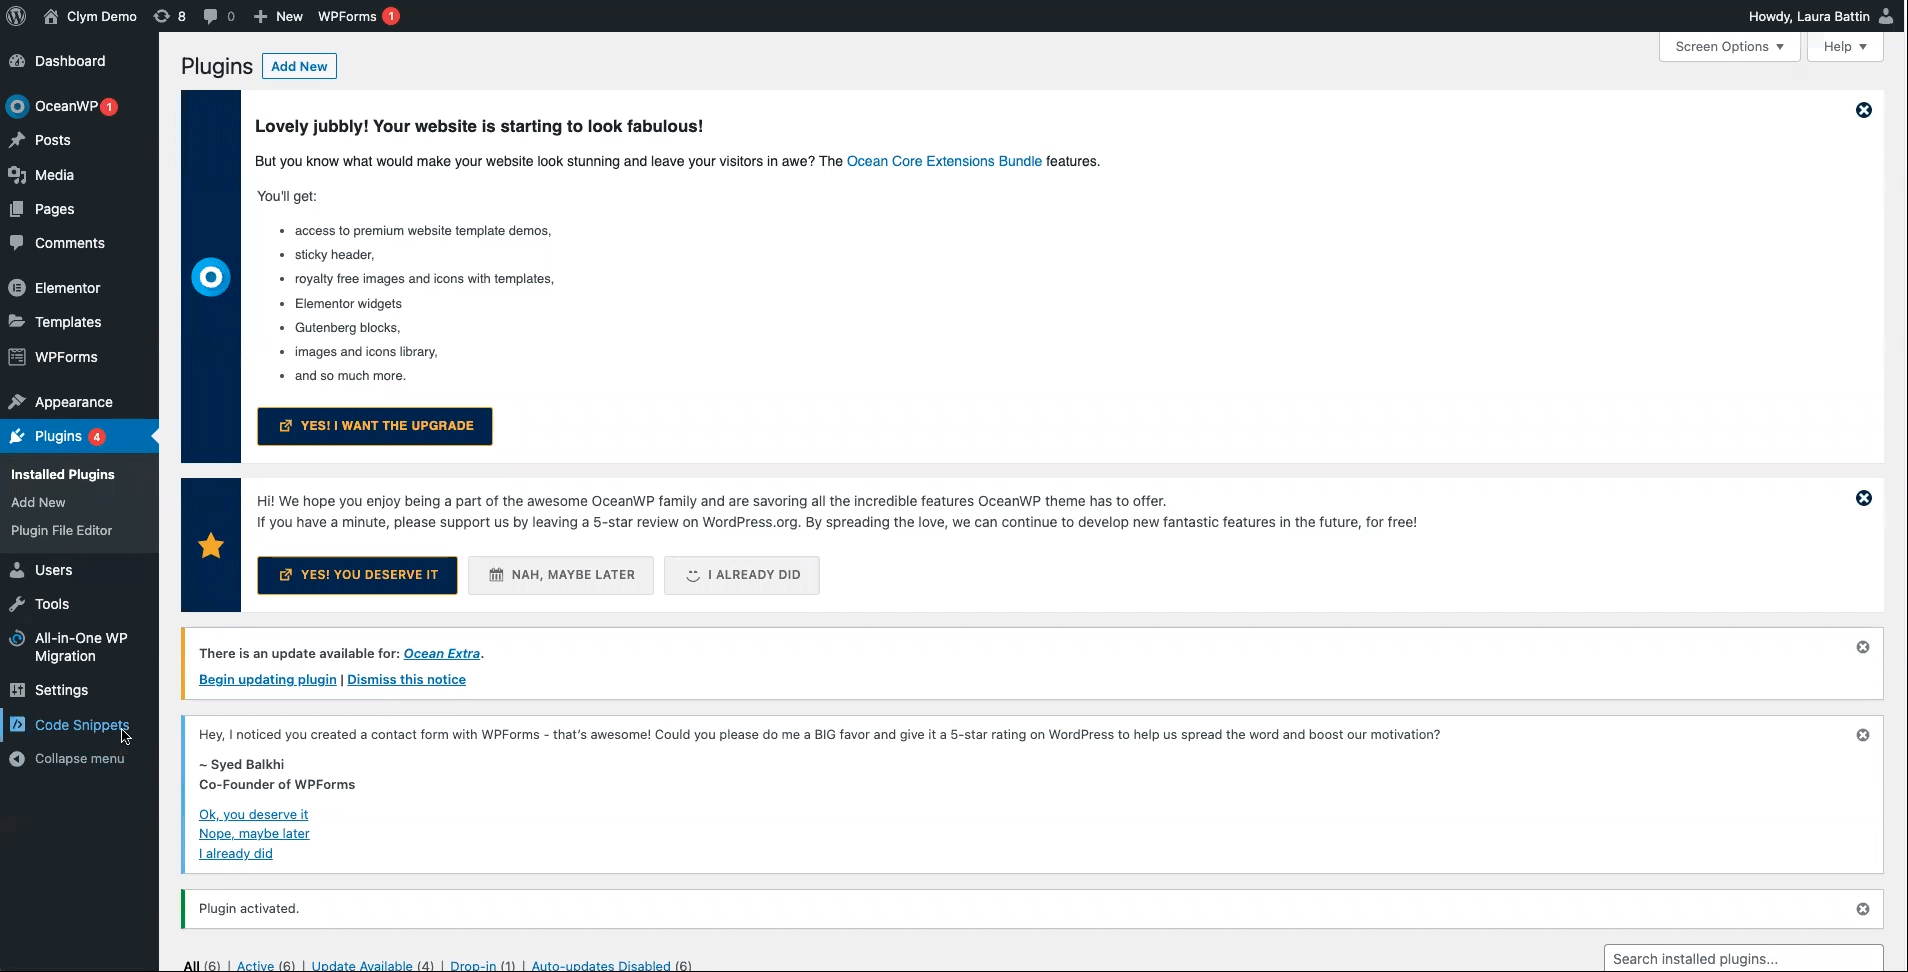
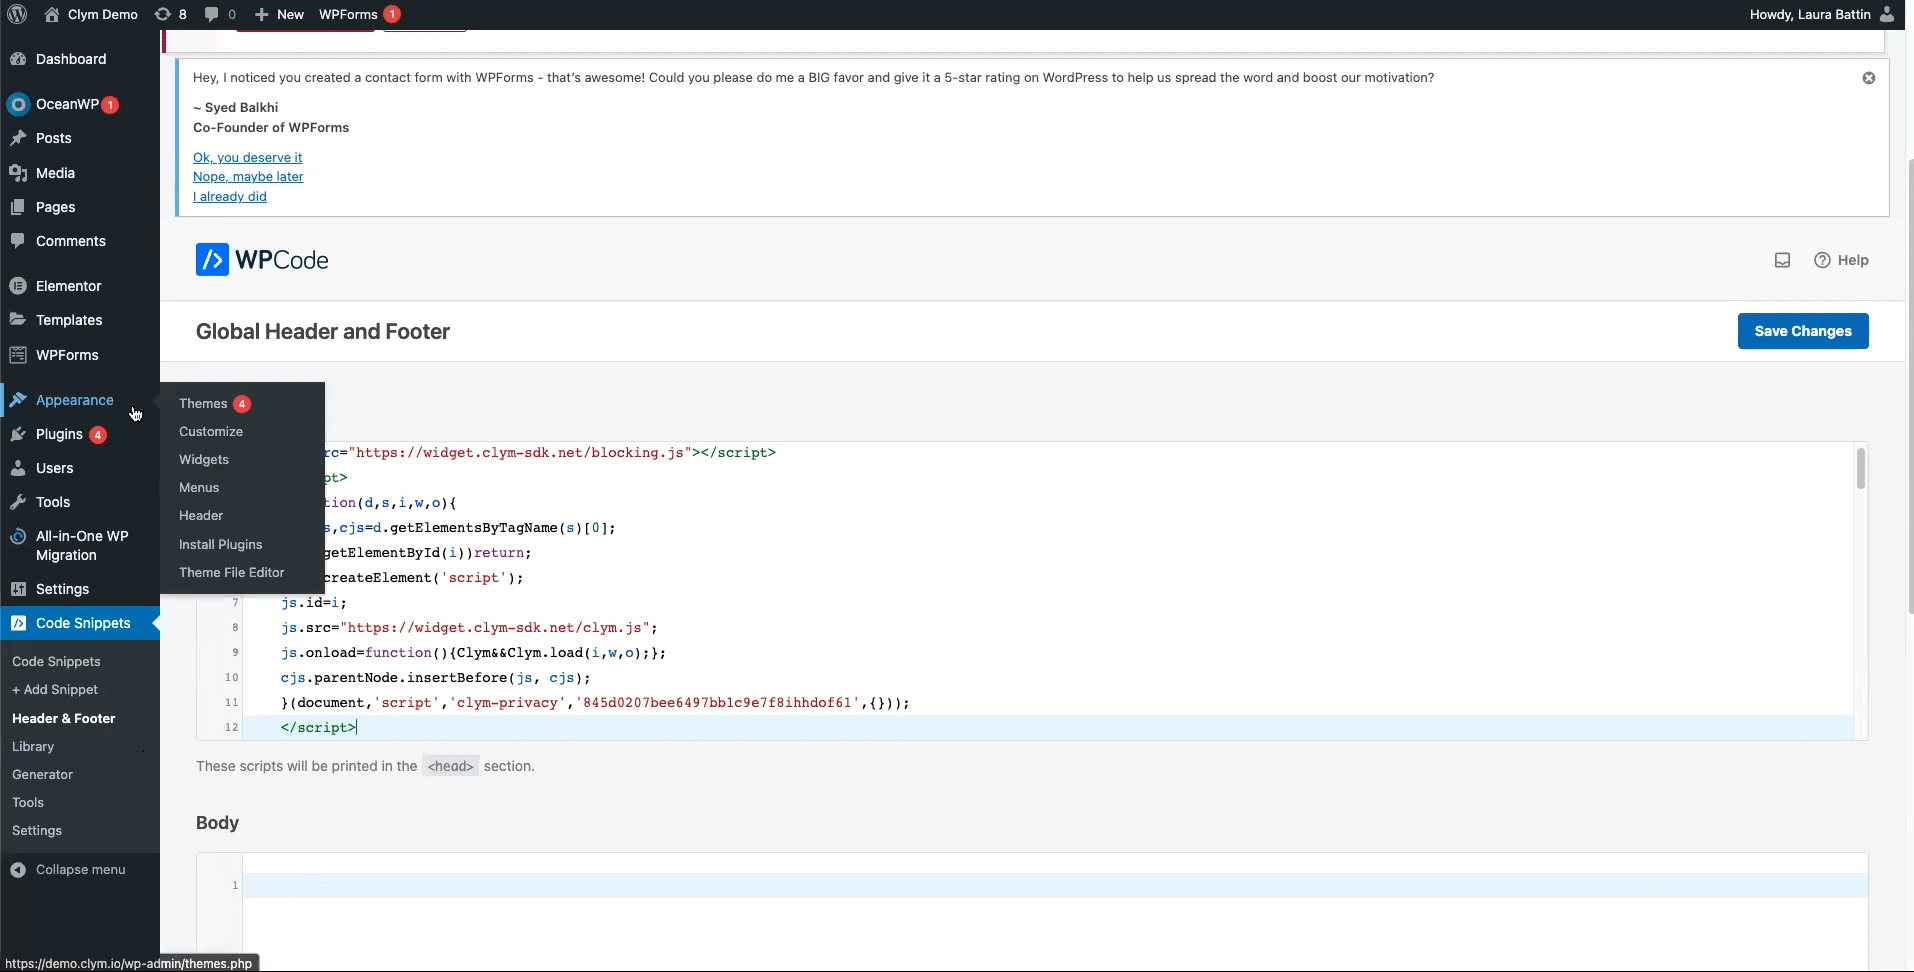
Once you have installed and activated the plugin, click on Code Snippets from the left-hand side of the navigation bar and select Header & Footer.
Paste the Clym privacy widget embed code from your email (or your Clym Admin account) into the Header section.
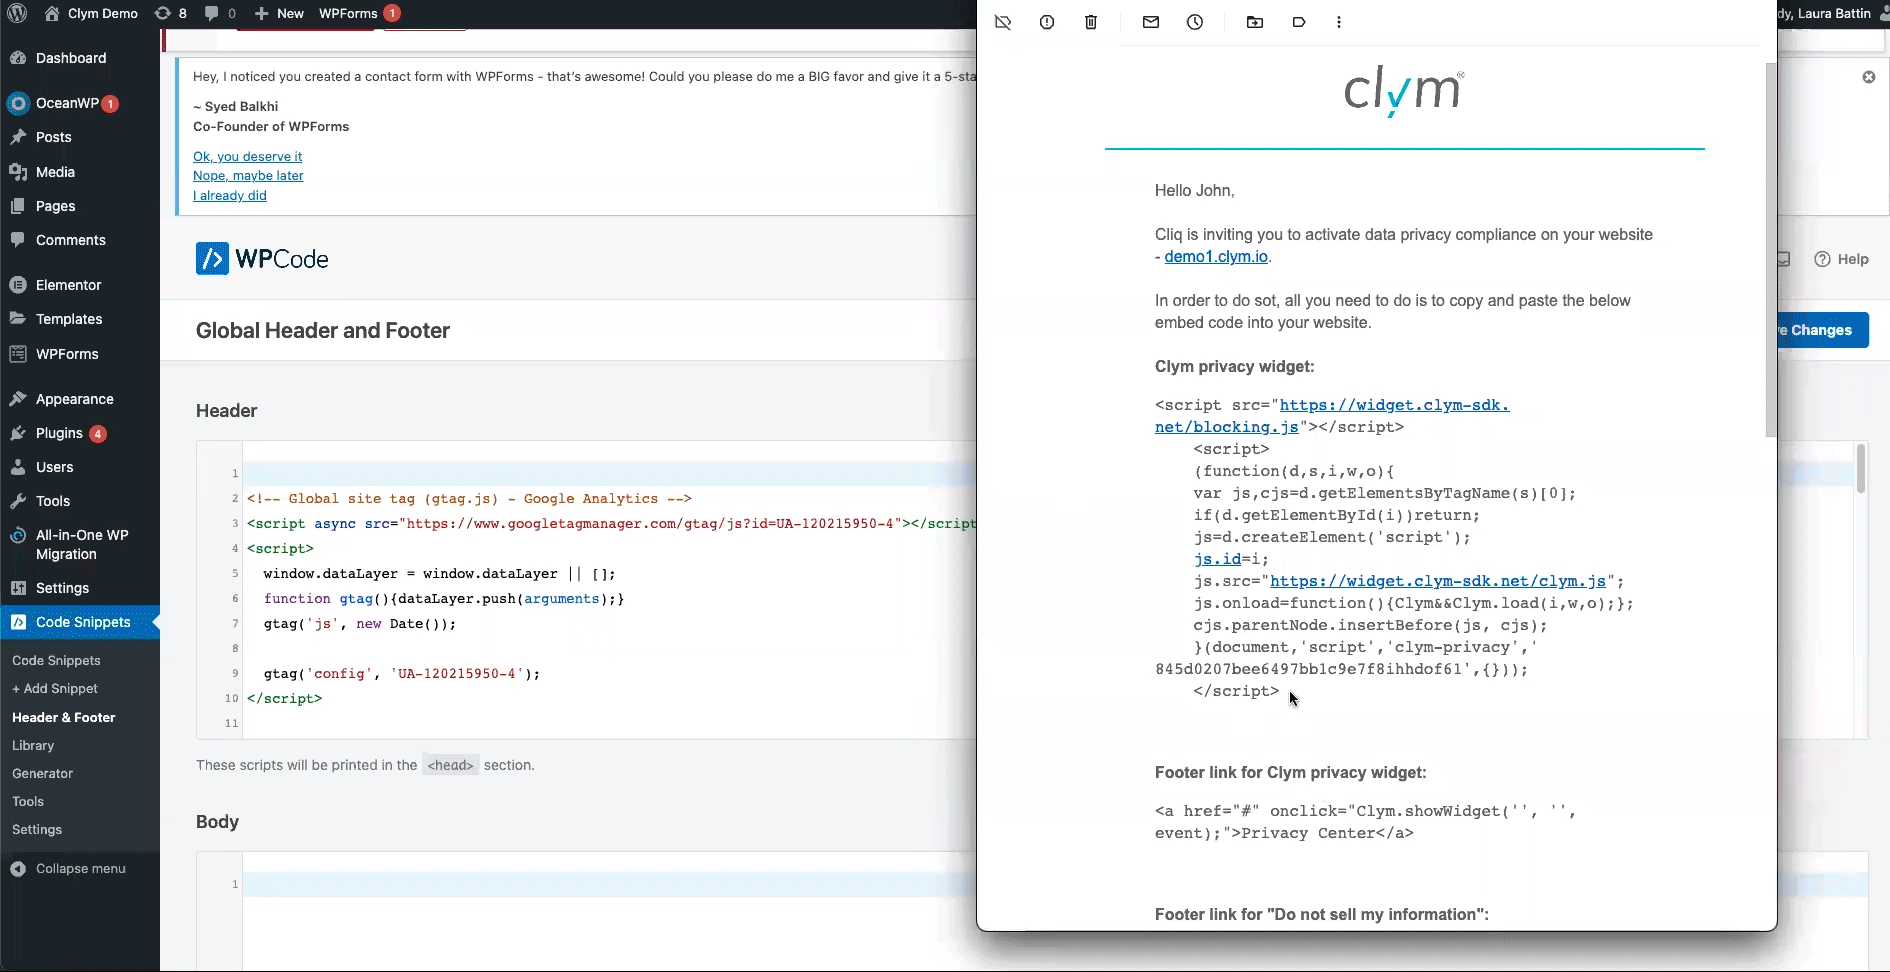
Note that, in order to facilitate compliance, this script has to be inserted as the first script under the "head" section of your website. Failure to do so might allow third party scripts to be loaded on your website and, depending on regulation, that might result in non-compliance. For easy viewing, you may leave space in between the Clym script and any following scripts or code.
3. Copy / paste the links for "Privacy Center" and "Do not sell or share my personal information"
Return to your email or Clym admin account. First, copy the Privacy Center button/link embed code, and then go back to your Wordpress dashboard.
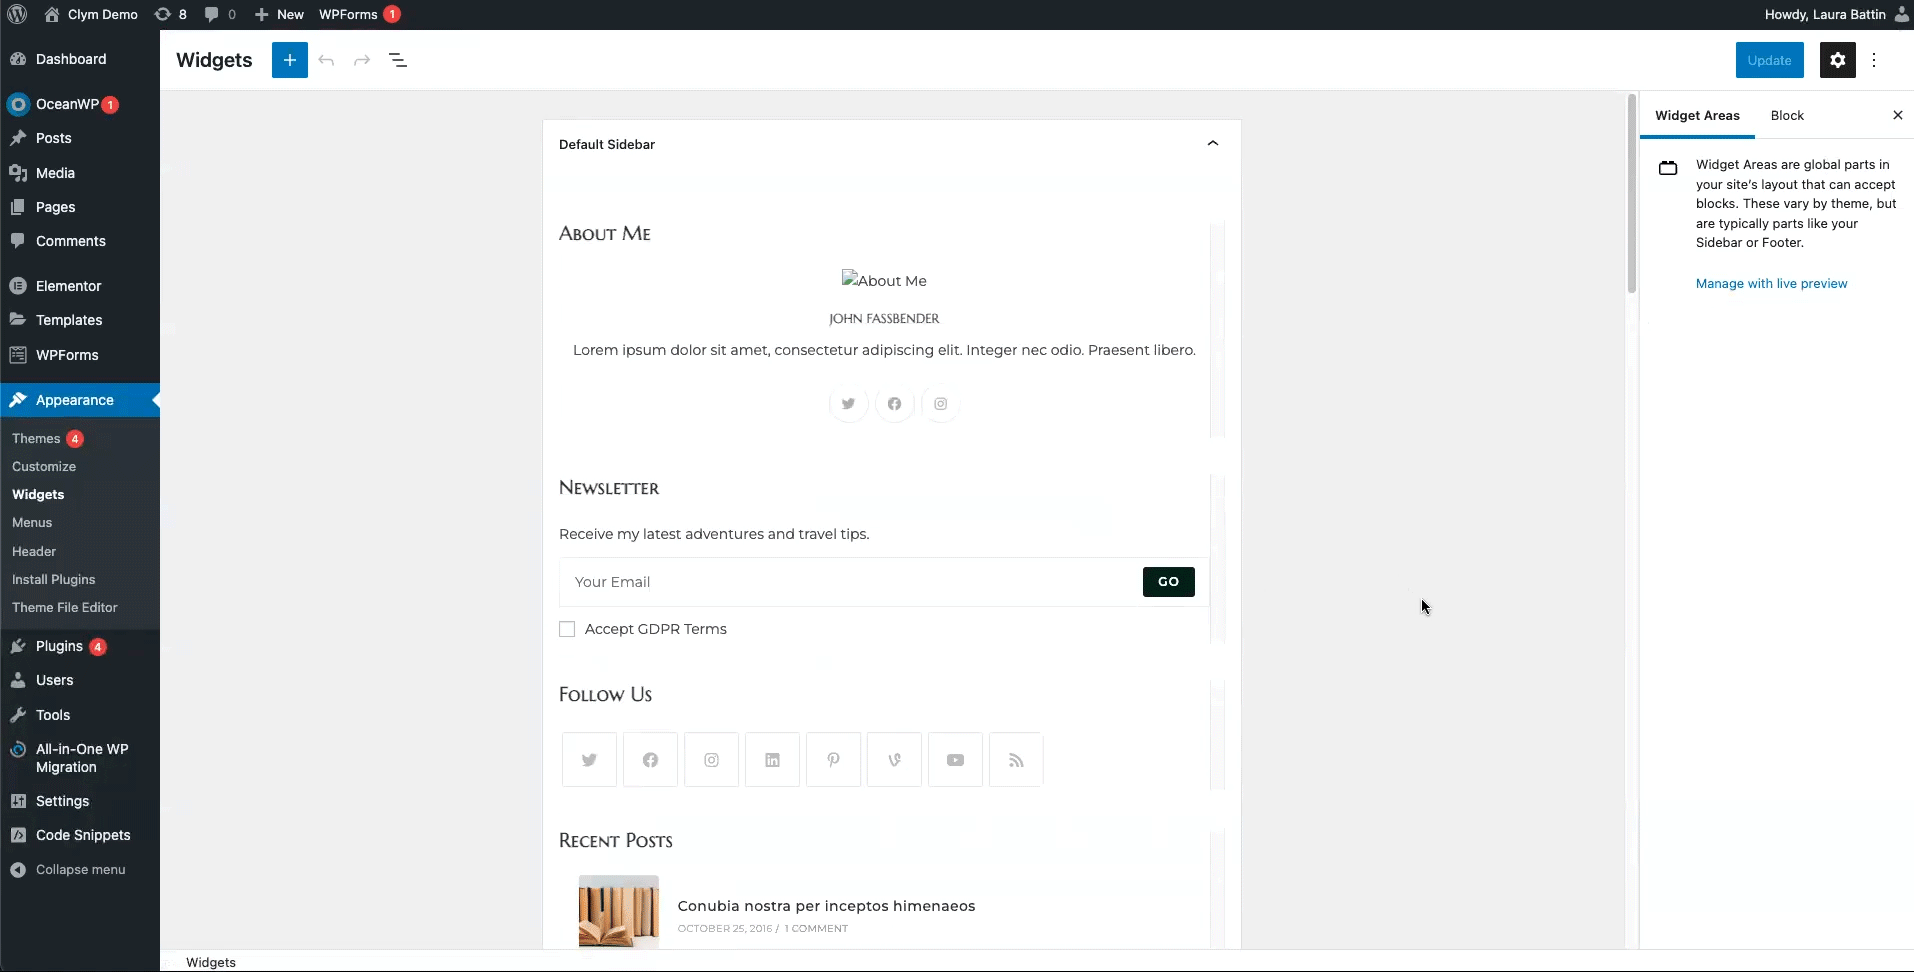
Return to Wordpress and find Appearance in the left navigation menu and select Widgets. Please note - there are multiple ways to add Clym's footer links to your Wordpress website, depending on how your footer is built within your site. The below steps refer to one option. If your website has a different build, you may need to check with your developer on how to add our footer link embed codes, or reach out to support@clym.io for assistance.
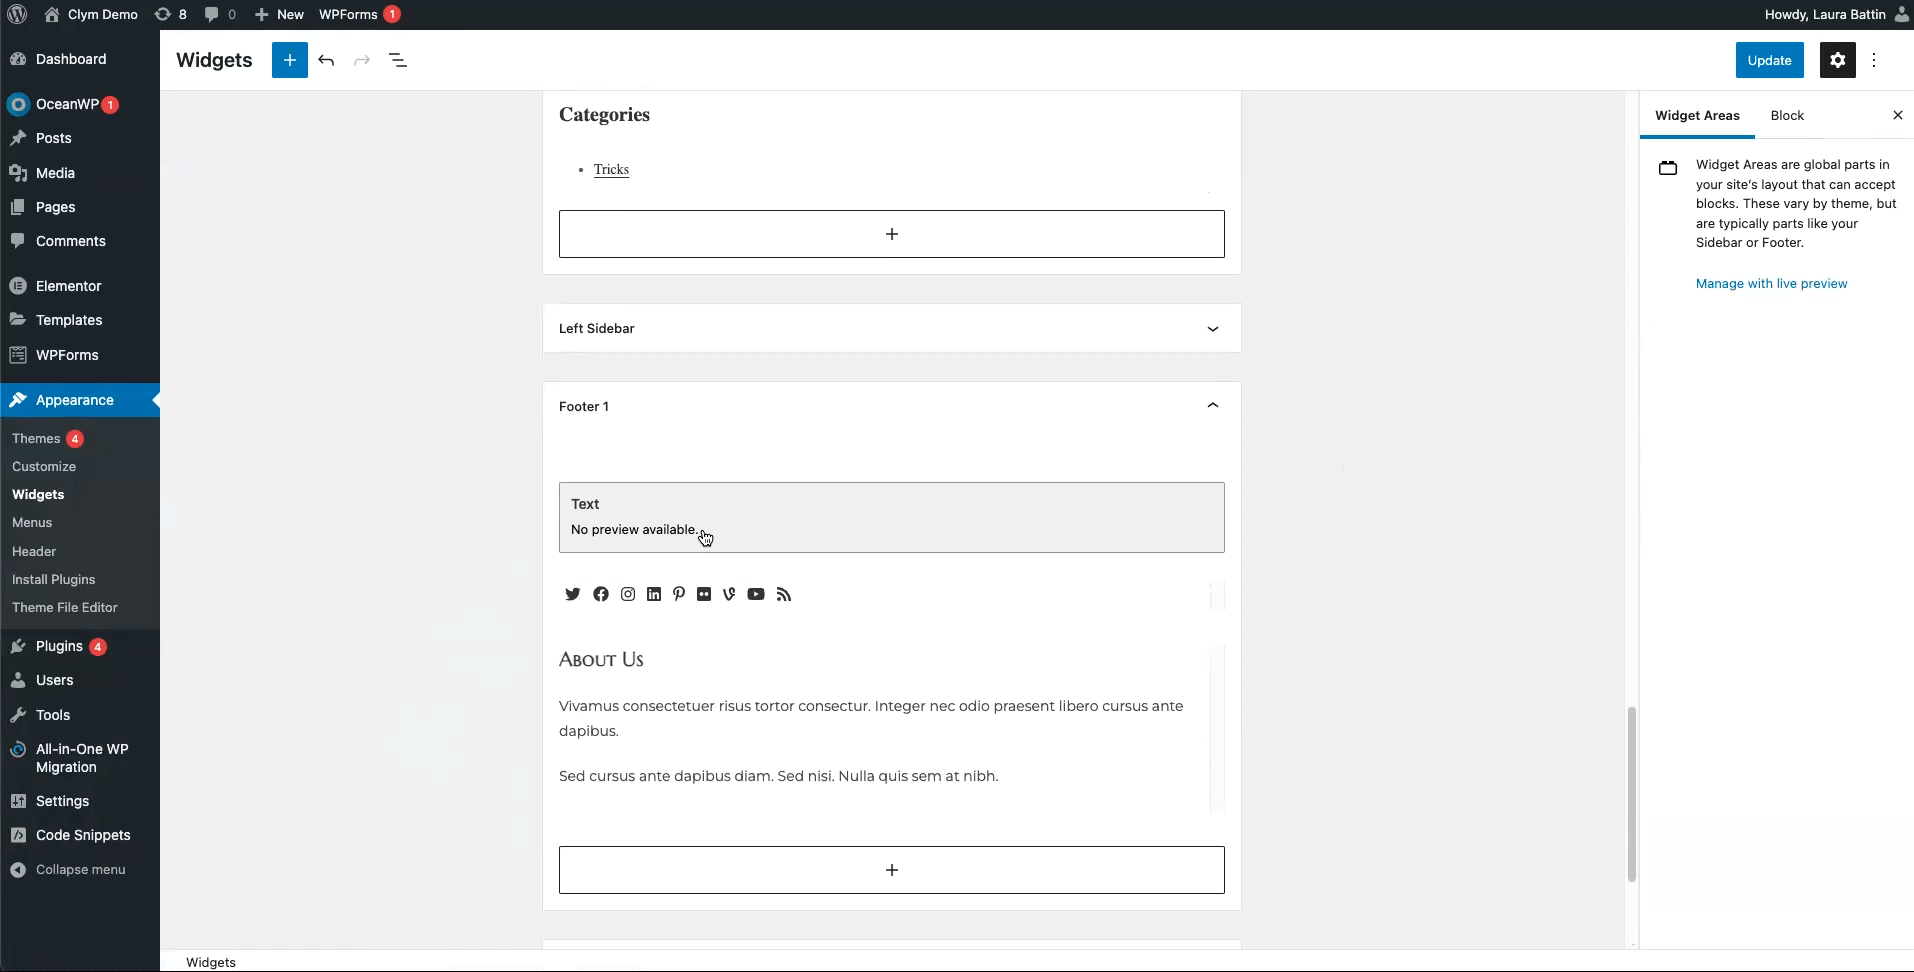
Scroll to the footer widgets and click into the footer widget that you would like to add the footer links to, based on wherever you would like for the links to display on your website's footer. For example, adding your Clym embed codes into Footer 1 will add the links to the top of your website's footer.
Paste the Privacy Center button/link embed code into the content section of the footer widget where you would like for the links to display.
Return to your email or Clym admin account to repeat the steps one at a time for the Do not sell or share button/link embed code and click Update.

You're all set! Clym's widget will now display on your website based on how you setup your widget layout.
Please note that based on your geolocation, you may not see the privacy widget. To view Clym on your site, scroll to the footer of your website and click Privacy Center or Do not sell or share my personal information to open the widget. View more ways to verify the installation here.
Please note, if you come across any challenges, you can reach out to us via chat or email us at support@clym.io.