Steps to take to reply to a user-submitted case
Whether addressing accessibility concerns, investigating security vulnerabilities through bounty hunting, removing harmful content, or managing sensitive whistleblowing reports, we understand that maintaining clear communication with your customers is key to demonstrating that their cases are being handled with top priority. Within the Clym Portal, you can easily send replies to your users at any time. Clym will automatically send an email notification to your users that they have a new reply from your team.
Replying to a case is an easy 3-step process:
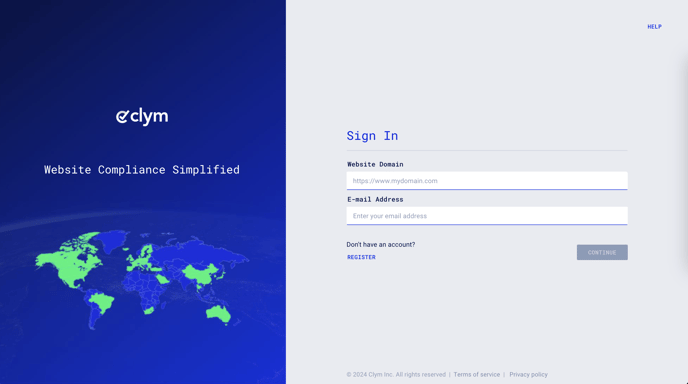
1. Sign in to the Clym Portal
You should have received a magic link in your initial onboarding email. Please click Sign in from the email to get started. Alternatively, navigate to Clym's home page and click on Sign in in the upper right-hand corner.
2. Open your Case Management page
From the left side menu, select Case Management.
Please note: to see cases listed under "Case Management," you must be signed into the main account email or designated as a "responsible" by the main account email. For more information on adding responsibles, please see the following resources based on case type:

Please note: users must verify their email address before the case will be open and editable. Until the email address is verified, the case will remain pending.
.
3. Reply to a user case
Click the drop-down arrow next to the case you wish to reply to. Expand the Messages section and click Reply.
In the pop-up window, type your reply into the Message field. If you wish to Upload Documents along with your reply, drag files or click to upload to attach files to your message. Click Send Reply.
If you encounter any challenges, please reach out to us at support@clym.io.