Steps to take to add a data subject request to your system that was received outside of your Clym widget
Clym's admin portal allows you to keep track of all of the data subject requests, or DSRs, that you receive as an organization, even if you receive one that was not sent through your Clym widget. This means that you can add requests you've received over email, phone, or other similar methods, allowing you to stay on top of all of your requests in one convenient location. From Clym's admin portal, you can view upcoming deadlines, reply to requests, and export this data at any time.
Adding a DSR is an easy 3-step process:
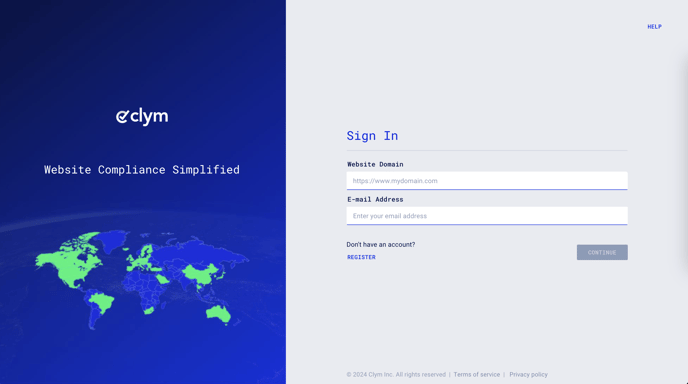
1. Sign in to your Clym Portal
You should have received a magic link in your initial onboarding email. Please click Sign in from the email to get started. Alternatively, navigate to Clym's home page and click on Sign in in the upper right-hand corner.
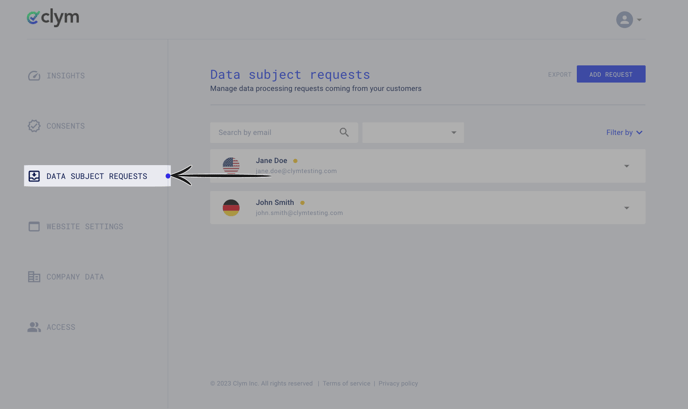
2. Open your Data Subject Requests page
From the left side menu, select Data Subject Requests.
 .
.
3. Add your data subject requests
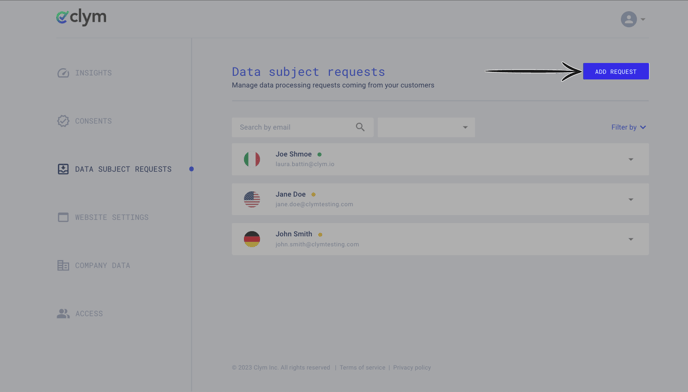
In the top right corner of your screen, click Add Request.
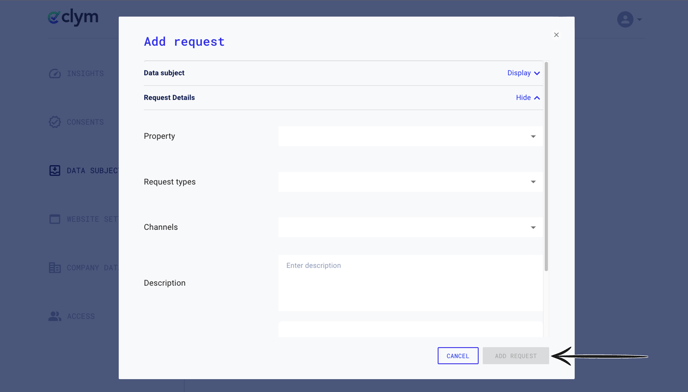
In the pop-up window, fill in each field with the information from the DSR you have received, including the individual's first name, last name, email, and country. Toggle the Request email validation to send a verification email to the user.
Please keep in mind that email validation by the user is a mandatory requirement for the DSR to be editable in your account.
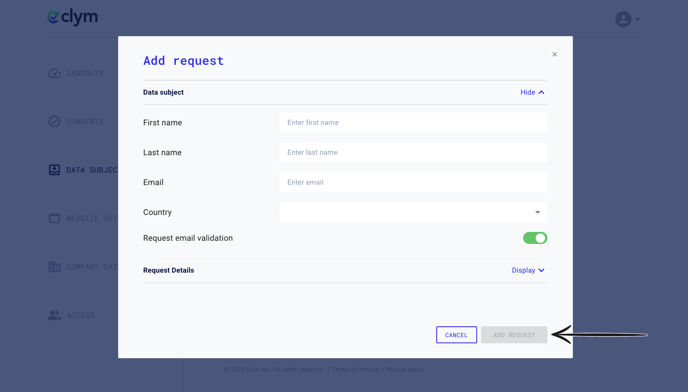
Toggle the Request Details field open to add additional information to your DSR, including property, request types, channels, and description. Click Add Request.
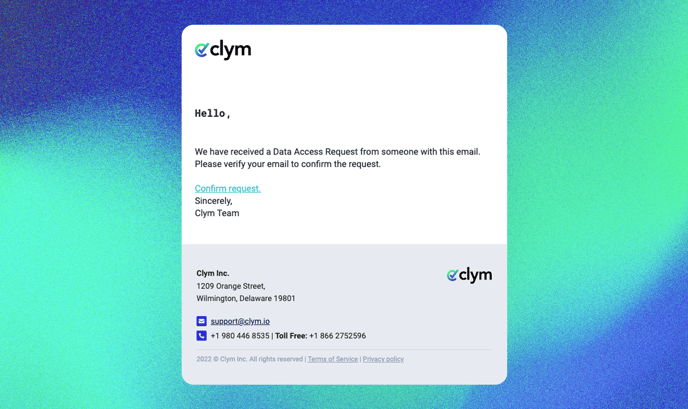
Please note: Once a user submits a DSR, they will asked to verify their identity by verifying their request via email. Clym will send the user a verification email. Once the user has verified their email address, the request will be editable.
If you encounter any challenges, please reach out to us at support@clym.io.

