Steps you need to take to add a language to your Clym widget to be available to your users
Clym allows you to add a number of additional languages to your Clym widget, which helps you to reach your website's audience and cater to them efficiently. Adding a new language for your users is an easy 3-step process:
1. Log into the Clym admin
You should have received a magic link in your initial onboarding email. Please click Sign in from the email to get started. Alternatively, navigate to Clym's home page and click on Sign in in the upper right-hand corner.
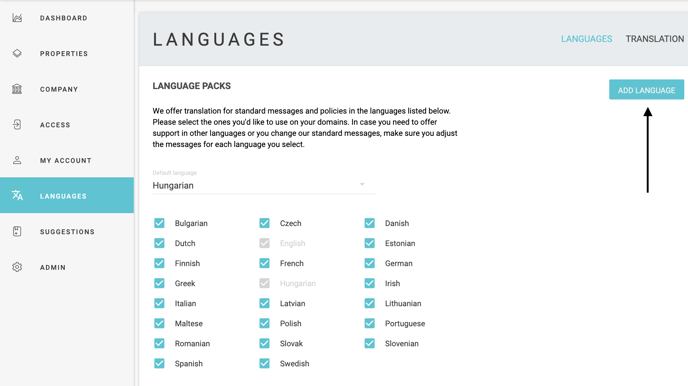
2. Open your Languages page
Navigate to the Languages menu option on the left-hand side.
3. Add a new language
In the top-right corner, click Add language.
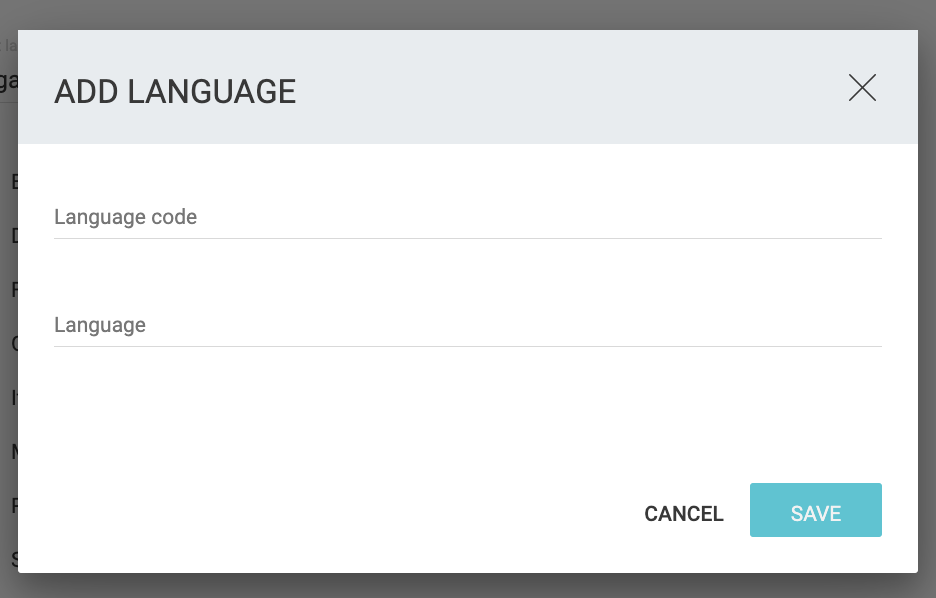
Enter the language code and language and click Save. The new language will now be available for your website's users to view the Clym widget.
Please note, adding a new language to your Clym widget will not automatically translate all of your documents to that language for your users. For more information on how to add a document in a different language to your Clym widget, please click here.
Please note, if you come across any challenges, you can reach out to us via chat or email us at support@clym.io.