Steps to take to make an additional language available to your users in your Clym widget
Depending on where your website visitors are located and what their language preferences are, you may wish to offer different language options to your users to view the Clym widget. By default, the Clym widget will display in English, but there are several options you can allow your website visitors to toggle between.
Adding a new language option to your Clym widget is an easy 3-step process:
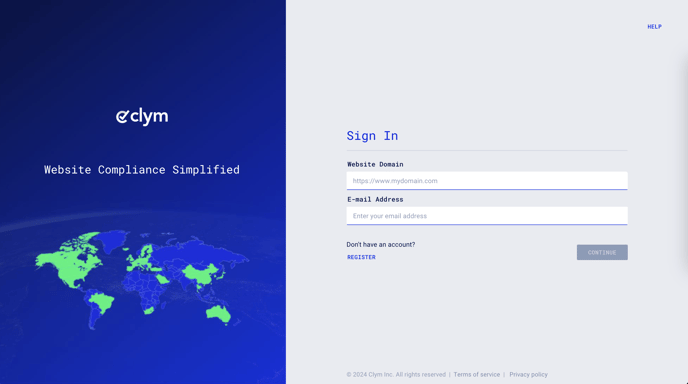
1. Sign in to your Clym Portal
You should have received a magic link in your initial onboarding email. Please click Sign in from the email to get started. Alternatively, navigate to Clym's home page and click on Sign in in the upper right-hand corner.
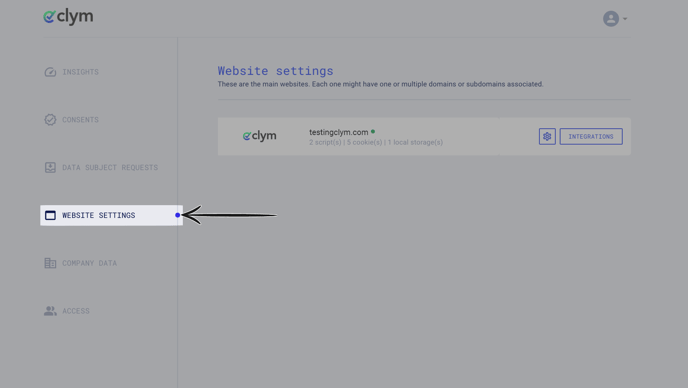
2. Open your Website Settings
From the left-side menu, select Website Settings. You will then see a list of all your domains, each with its unique settings.
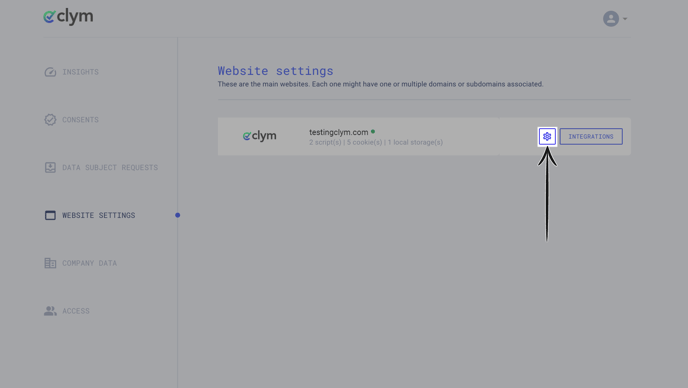
Click the settings wheel next to the domain that you would like to change the default language for. This will open the website settings for that specific domain.
3. Add a new language option(s)
From the Website settings menu, select Languages. From the list of languages, toggle on each language that you would like to make available to your users.
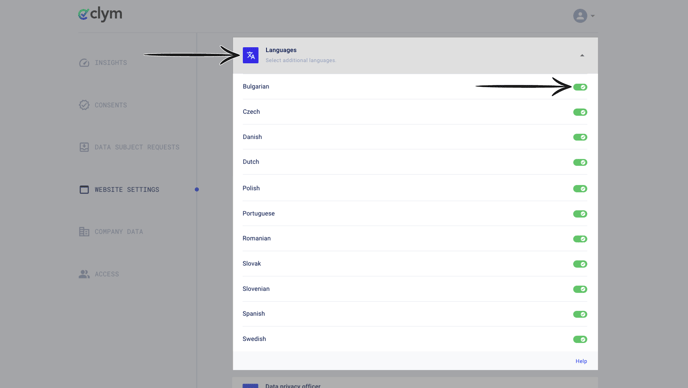
Please note: Adding a new language does not translate your legal documents for your users to that language. To display your legal documents, such as your Privacy Policy or Terms of Service, you must upload a version of your legal documents in the different language options you are offering.
If you encounter any challenges, please reach out to us at support@clym.io.